Overview of the Process
Here’s an outline of the steps involved in setting up a data source:Create a Dataset
This is the container where your data sources will live. Think of it as a project-level container that can hold multiple data sources.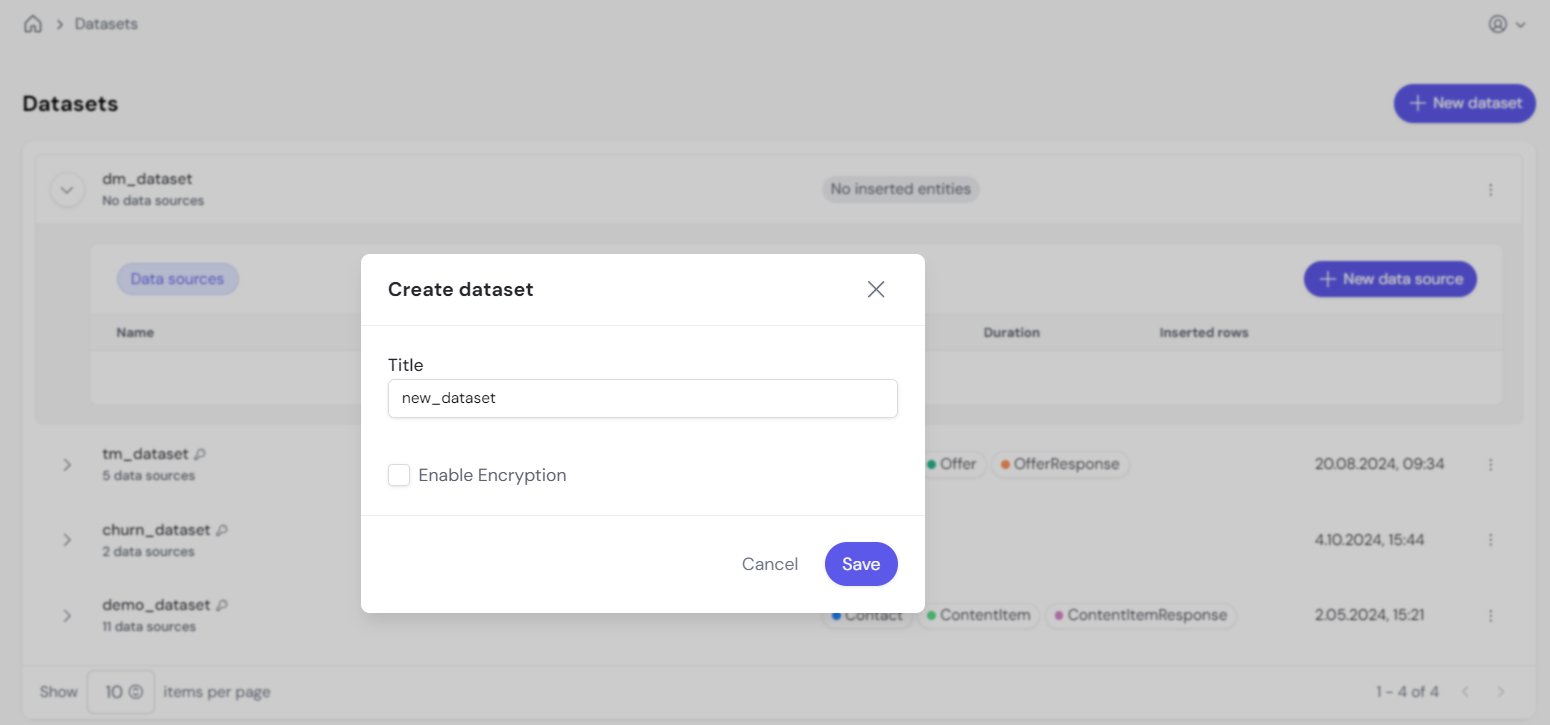
This image shows how to create a new dataset in the system. Datasets allow you to organize your data sources for different business cases.
Add a Data Source
Within the dataset, create multiple data sources to load the necessary data.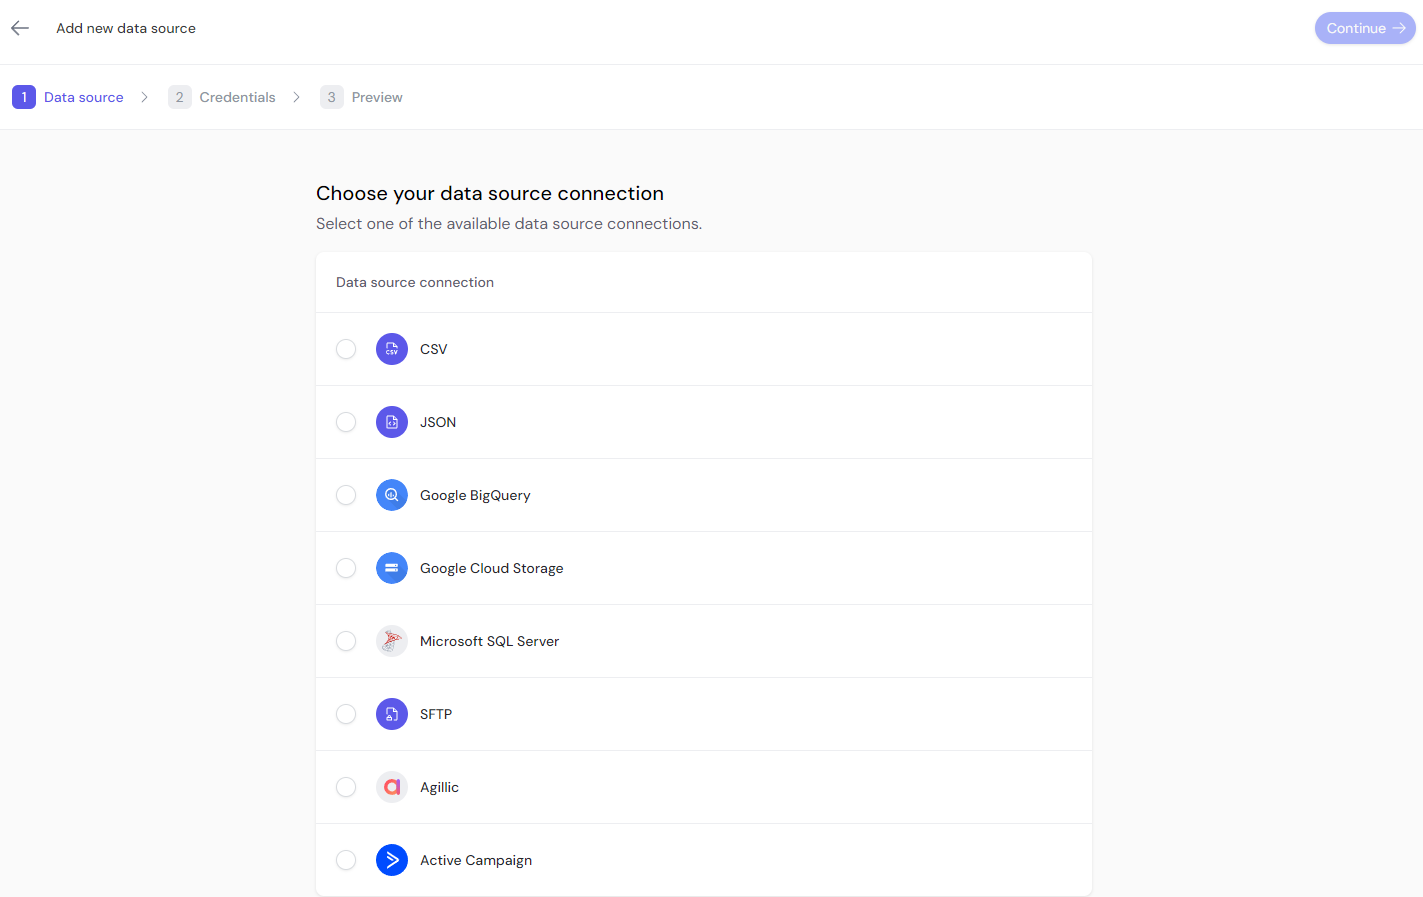
This image displays the various data source connection options such as CSV, JSON, Google BigQuery, and Microsoft SQL Server.
Select the Source
Choose the data source you want to integrate from the list of supported sources: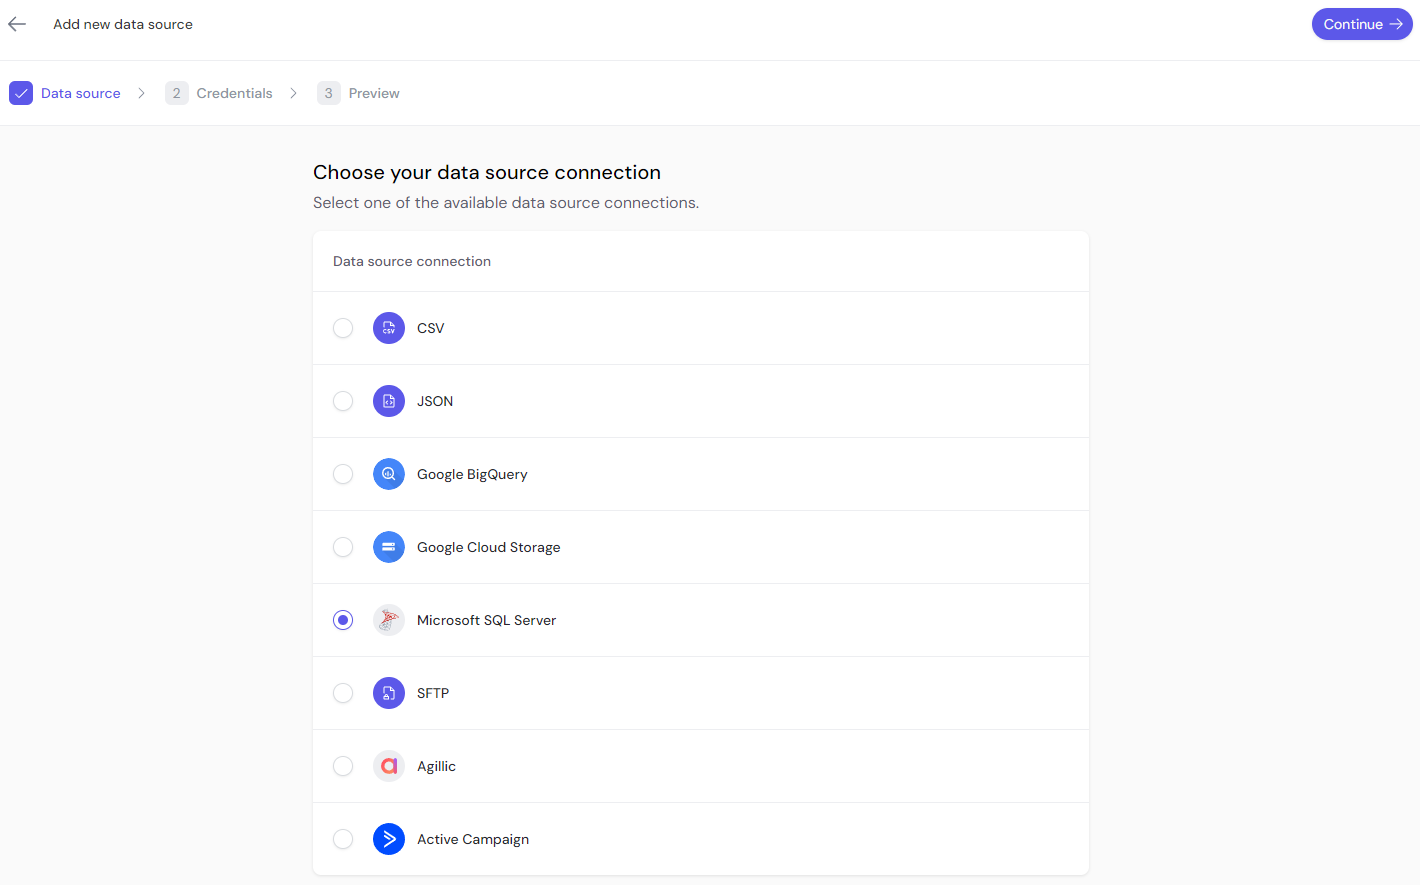
- CSV
- JSON
- Google BigQuery
- Google Cloud Storage
- Microsoft SQL Server
- SFTP
- Agillic
- Active Campaign
Enter Credentials
Input the credentials required to connect to the data source. This might involve entering project IDs, API keys, or authentication tokens, depending on the source.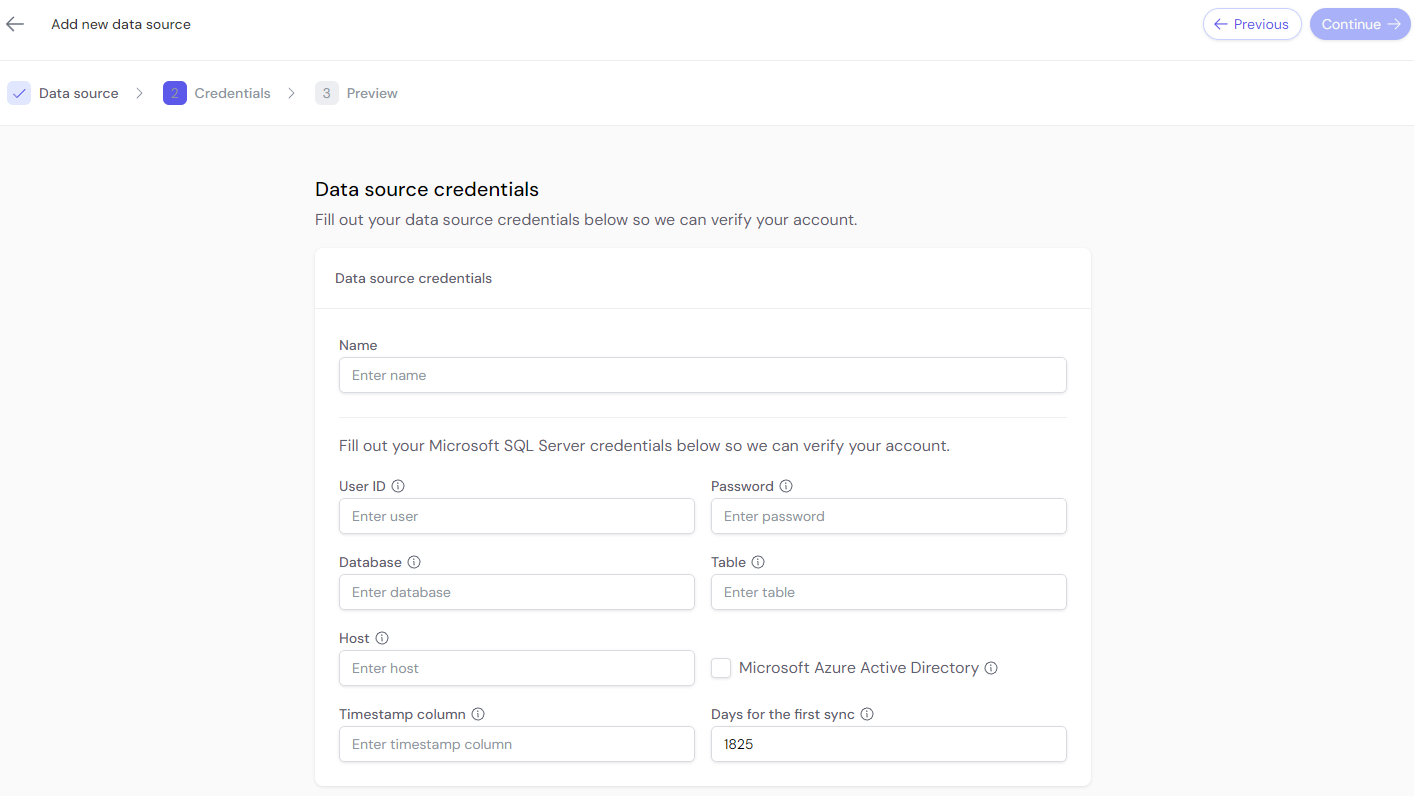
This image shows examples of credential input for Google BigQuery and Microsoft SQL Server.
Preview Data
Once connected, preview the data to ensure the source is correctly connected and the data format is as expected.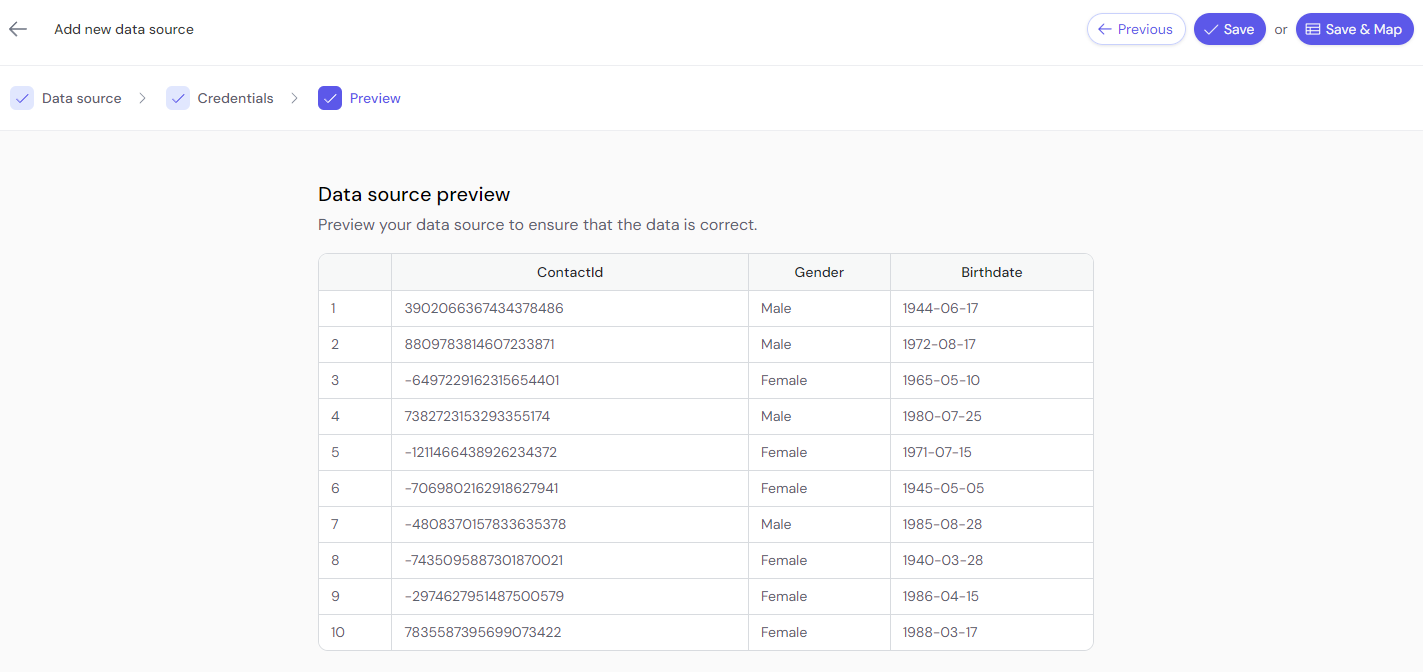
In this image, you can see a preview of the data fields (e.g., ContactID, Gender, Birthdate) before confirming the connection.
Create Data Mapping
After previewing, map the data fields to specific entities in the allyy data structure. Mapping allows the system to understand the relationship between fields in your data and allyy’s internal structure (Contacts, Responses, Offers, etc.).Read more about data mapping here.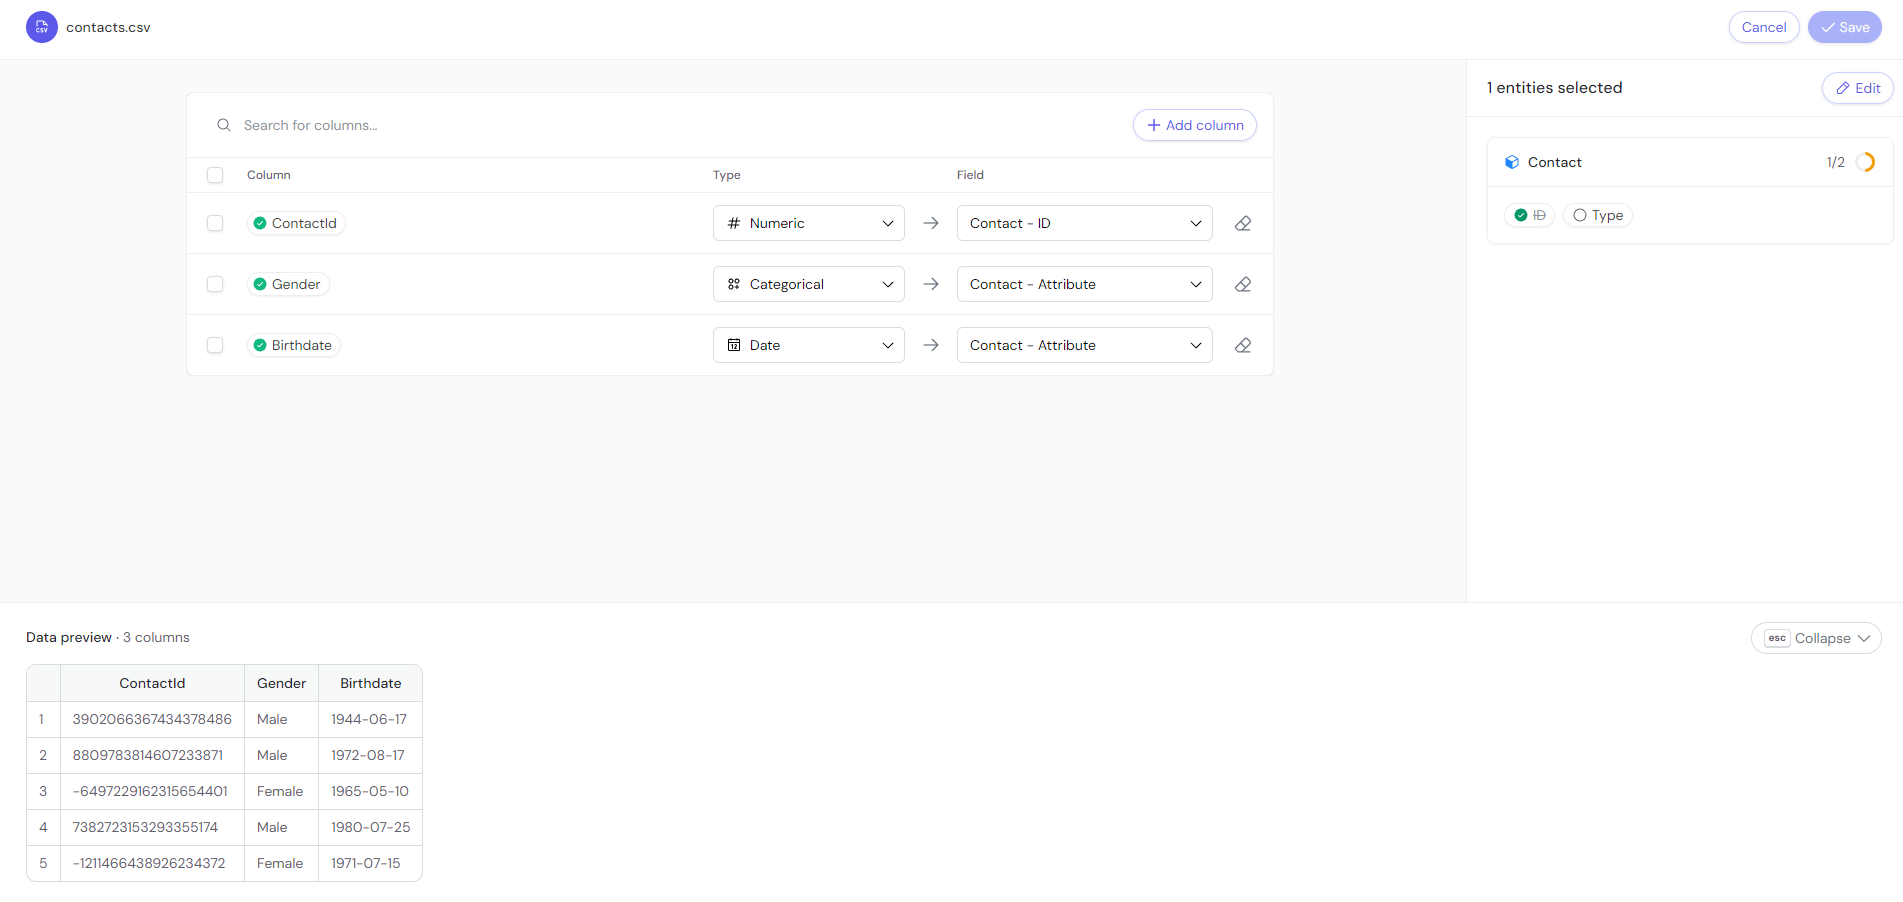
This image shows the mapping process, where fields like ContactID and OfferResponse are mapped.
Save the Mapping
Once the mapping is saved, the data source can be accessed or synchronized at any time.
Data Synchronization or Workflow
For batch data, click the synchronize button to pull in data periodically or on-demand.For streaming data, use the start streaming or stop streaming buttons to manage real-time data ingestion.
Streaming vs Batch:
Batch Data
Synchronization happens manually or on a schedule. To pull in data, click the synchronize button or schedule it via a workflow.
Streaming Data
Data flows in real time. Use the start/stop streaming buttons to manage continuous data flow. Streaming data cannot be scheduled.